Language
Currency


The slam of a dunk, the swift pass, and the competitive spirit of a game night—these are the sounds and feelings that a basketball hoop brings to life. Whether you're an avid player looking to practice your shots or a family seeking to add a fun activity to your backyard, a wall-mounted basketball hoop is an exciting addition to any space. However, the key to enjoying this sport at home is a proper installation. This guide will walk you through the process of mounting a wall-mounted basketball case, ensuring a safe and sturdy setup for endless hours of play.
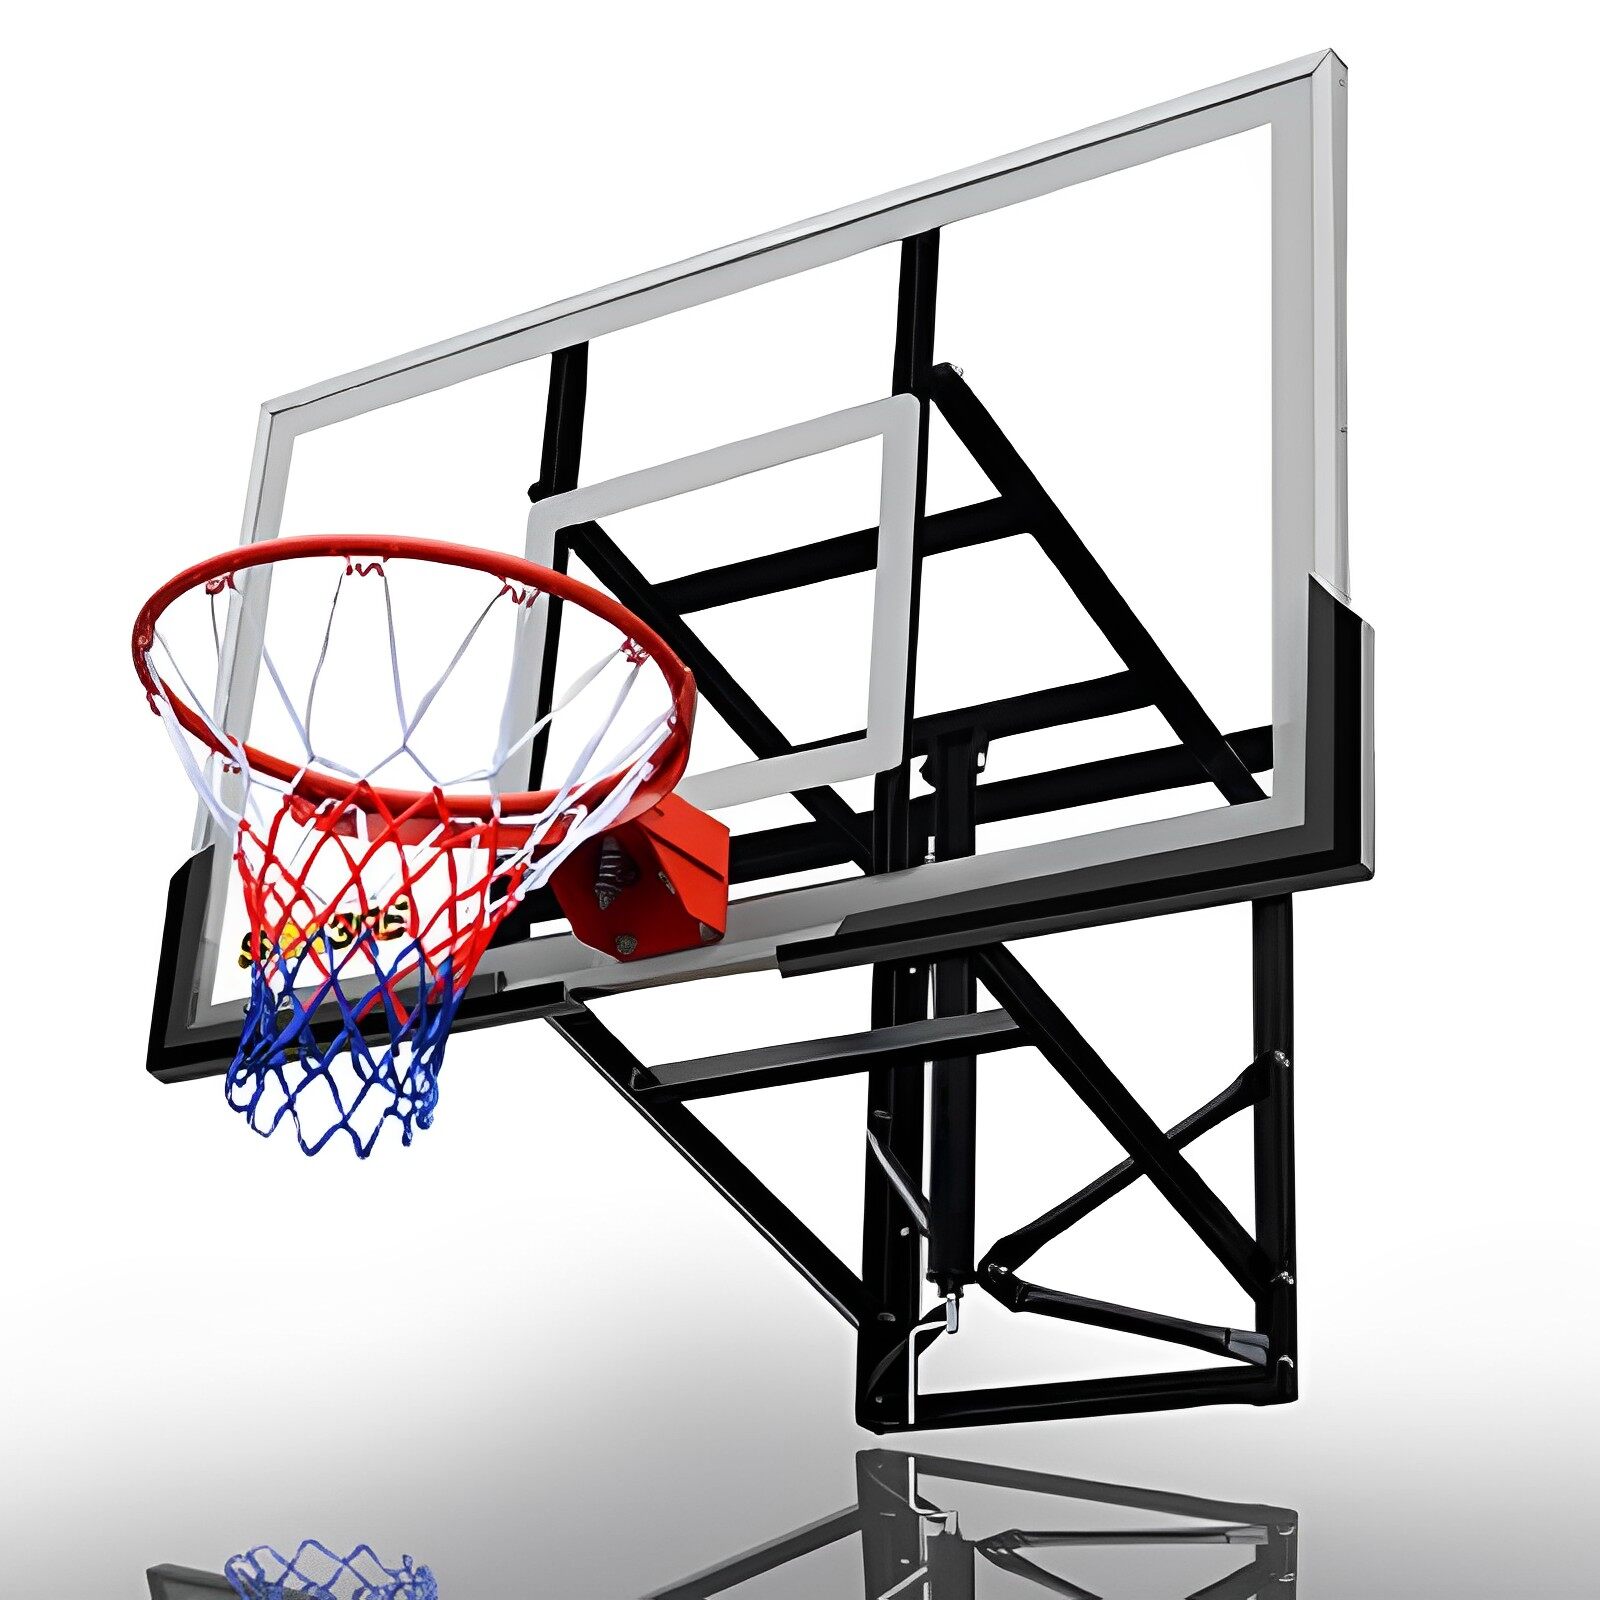
The Allure of a Wall-Mounted Basketball Hoop
For many, the idea of a basketball hoop at home conjures up images of friendly competition, exercise, and quality time spent with family and friends. A wall-mounted basketball case offers a convenient and space-efficient solution for those with limited yard space or a preference for a more permanent setup. The prospect of installing such a fixture may seem daunting, but with the right guidance and tools, it can be a straightforward and rewarding project.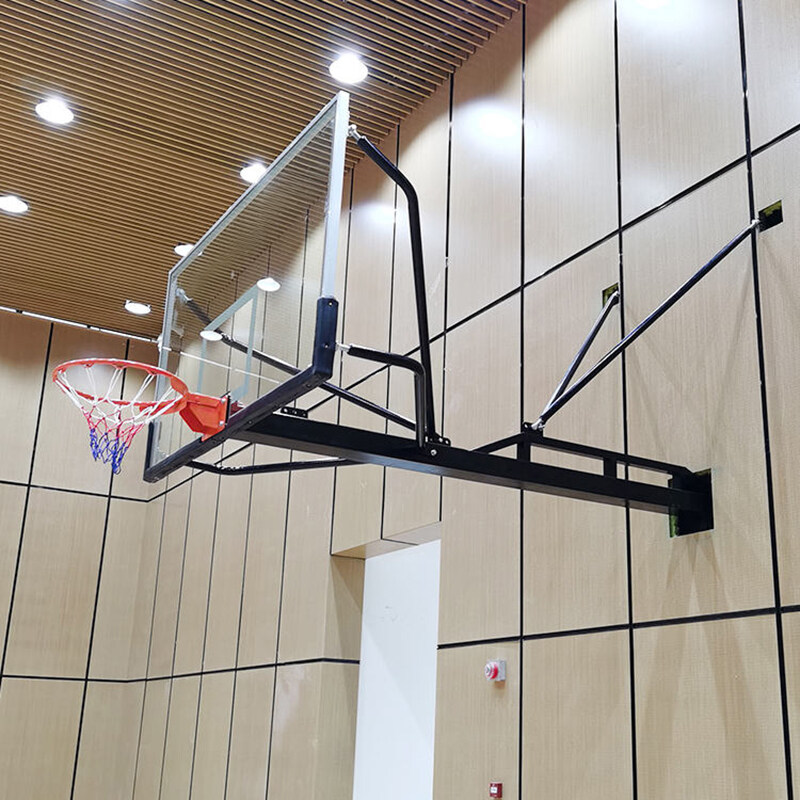
Gathering Your Tools and Materials
Before you begin the installation process, it's crucial to gather all the necessary tools and materials. This typically includes:
Choosing the Right Location
The location of your wall-mounted basketball case is paramount. Consider the following when selecting a spot:
Mark the desired height of the rim—typically 10 feet for a regulation hoop—and use a level to ensure it's straight.
Preparation and Safety First
Safety is paramount during the installation process. Ensure the area is clear of bystanders and pets. Put on your safety gear, and make sure your ladder is sturdy and on level ground. Double-check that the wall you're attaching the hoop to is strong enough to support the weight and force of the basketball activities.
Mounting the Backboard
The backboard is the centerpiece of your wall-mounted basketball case. Follow these steps to mount it securely:
Installing the Rim and Net
With the backboard in place, the next step is to install the rim:
Final Checks and Adjustments
Once the hoop is assembled, perform a final check to ensure everything is secure:
Enjoying Your New Court
With your wall-mounted basketball case securely in place, it's time to enjoy the fruits of your labor. Gather your family, friends, or neighbors for a friendly match or practice your free throws in the quiet of your own space.
Conclusion: A Slam Dunk Installation Experience
Installing a wall-mounted basketball case is an investment in your home's entertainment value and your family's active lifestyle. By following the proper steps and prioritizing safety, you can create a basketball court that will provide enjoyment for years to come. As you watch the ball arc through the air and swish through the net, you'll know that the effort was well worth it.
In conclusion, a well-installed wall-mounted basketball hoop transforms a simple wall into a hub of activity and fun. With attention to detail and the right tools, you can achieve a professional-looking setup that will be the envy of your neighborhood.
Email format error
Email cannot be empty
Email already exists
6-20 characters(letters plus numbers only)
The password is inconsistent
Email format error
Email cannot be empty
Email does not exist
6-20 characters(letters plus numbers only)
The password is inconsistent
